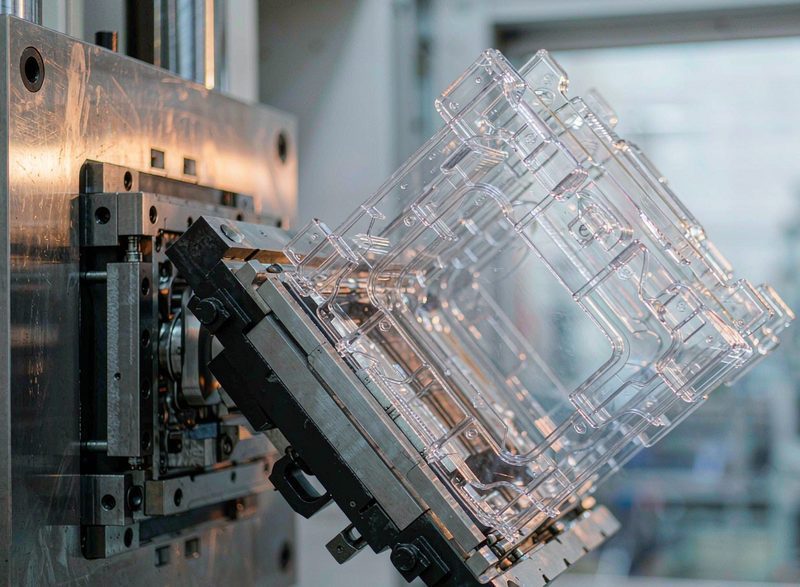
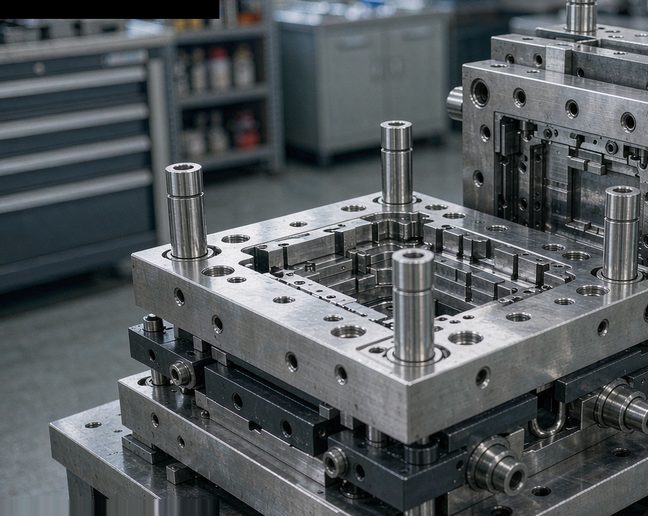
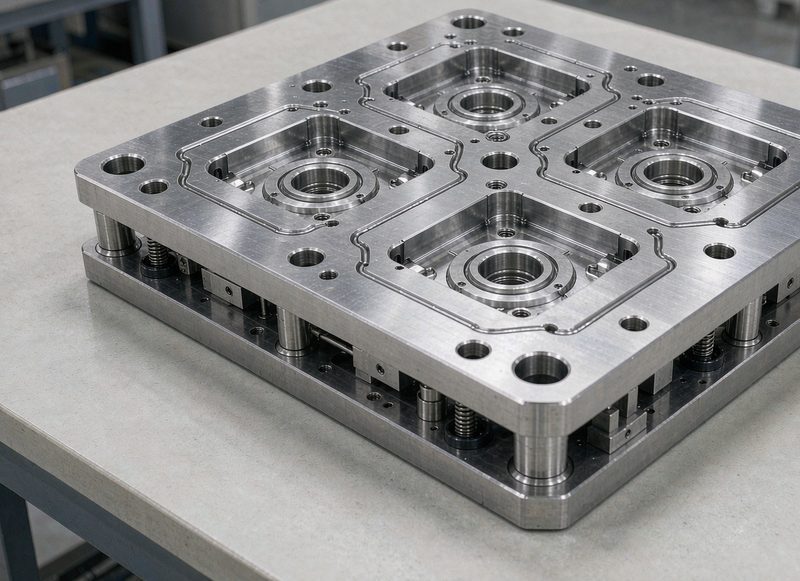
Most projects fail between the prototype and the production tool, not during either. The prototype proves the geometry works. It does not prove the part can be moulded repeatably at rate, and a design that only worked in a 3D-printed or single-shot prototype often needs real changes before a production tool is justified.
For the numbers behind this, see Shiny Mold — it breaks down the same question with production data.
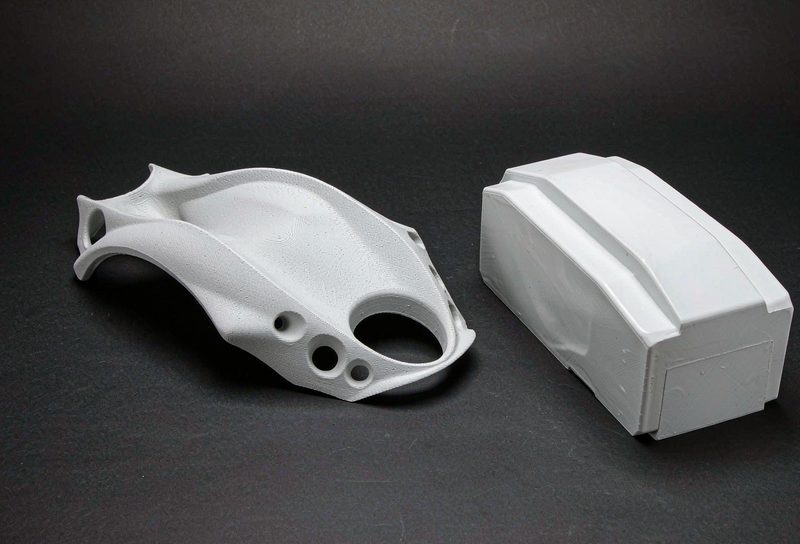
What should a prototype actually prove?
Fit, function and form. Whether the part assembles correctly, whether the wall sections are structurally right, whether the appearance is acceptable. It should not be expected to prove manufacturability at volume, because a prototype tool is optimised for speed rather than cycle time or cavity balance.
What changes between a prototype and a production tool?
Four, and each affects part quality. Steel: aluminium or pre-hardened becomes production-grade hardened steel. Cooling: minimal becomes optimised, and this is what determines cycle time. Gate design: a simple gate becomes a balanced multi-cavity gate. And ejection: simplified becomes engineered to avoid marking the cosmetic surfaces.
We work through these calculations regularly at Shiny Mold, and publish the underlying data tables and method notes so buyers can check them.
How do I avoid paying twice for the same part?
Run a proper design-for-manufacture review before the prototype tool is built, not after. Specifically: uniform wall thickness, draft on all draw surfaces, a gate position on the thick section, and a parting line on an invisible surface. A prototype built to production intent eliminates the second tool.
What changes between the two tools, item by item
Seven changes, and each one has a measurable effect on the part. Steel: aluminium or pre-hardened becomes hardened tool steel, which changes wear life and the achievable finish. Cooling: minimal becomes optimised, which is what determines cycle time. Gating: a simple gate becomes a balanced gate. Ejection: simplified becomes engineered to avoid marking cosmetic surfaces. Insert: none becomes interchangeable wear inserts, which changes the maintenance model. Ventilation: adequate becomes engineered for the specific flow path. And documentation: none becomes a full handover package.
The redesigns that happen between prototype and production
Four, and they are predictable enough to design out. Warpage, caused by a prototype tool's poor cooling revealing an underlying asymmetry in the geometry. Insufficient wall thickness at the gate, invisible in a printed part but causing a gate vestige or a short shot in a moulded one. Texturing on a surface with too little draft, which works in a prototype because the prototype tool has no draft requirement. And undersized bosses that printed acceptably but cannot be filled and welded reliably in steel.
How to make one tool do both jobs
Possible within limits, and worth designing for when volume is uncertain. Specify a hardened steel tool from the start, in aluminium for the prototype phase if necessary, so the geometry is validated on the same steel as production. Design cooling that can be upgraded with plugs without moving the cavity. Specify interchangeable inserts for the wear features so the prototype phase does not consume them. And freeze the drawing revision formally, so the production order is a continuation rather than a new project.
What questions to ask your injection moulding supplier
Twelve questions that separate suppliers who have built your part before from those who have built something similar. How many tools of this size have you built in the last twelve months? What steel grade do you specify for this wear pattern, and why? What cycle time do you model for this geometry, and on what machine? Where do you place the gate, and what is the reasoning? What cooling layout will you use, and how will you balance it? How do you control cavity-to-cavity variation? What is your first-article report format? What happens if the parts fail the criteria, and who owns the cost? How long do you hold spare inserts for this tool? What is included in the tool at handover? Who is the named engineer who will own this tool? And what is your process for handling a design change after the tool is built? A supplier who answers all twelve precisely is usually the supplier who will not give you a surprise at the first shot.
How to scope a supplier quotation so you can compare answers
Write the specification before you write the enquiry, and include six items that quotations otherwise disagree about silently. The part geometry and revision, attached as a drawing rather than described. The annual volume and the shot life the tool must deliver. The material grade, and who supplies it. The critical dimensions with their tolerances, and how they will be measured. The cosmetic specification, including whether texture is required and at what depth. And the delivery date, with the milestone structure you will accept. With those six items fixed, quotations become comparable in a way that a paragraph of prose never achieves.
Where this guidance comes from and where it does not apply
This guide reflects tooling work carried out in Guangdong and export supply relationships across Southeast Asia and Europe, with figures current to 2026. Three caveats are worth stating. Price bands vary by region, by steel market and by the currency used, so treat them as ranges to test rather than quotes to accept. Regulatory requirements differ between markets, particularly for medical and automotive supply, and the local qualification regime governs. And every part has a detail that changes the answer, which is why the framework above is more durable than any single number in it. Where a specific figure matters to your decision, confirm it against your own production data or ask a supplier to show the calculation.
Key figures at a glance
| Aspect | Prototype tool | Production tool |
|---|---|---|
| Steel | Aluminium or P20 | Hardened tool steel (1.2344 / 1.2083) |
| Cavities | 1 | Matched to volume |
| Cooling | Minimal or none | Optimised, cycle-time driven |
| Expected life | 5,000 - 30,000 shots | 300,000 - 1,000,000 shots |
| Lead time | 2 - 4 weeks | 6 - 16 weeks |
Frequently asked questions
Can I start production with a prototype tool?
For very low volume, yes — a hardened prototype tool can deliver 50,000-100,000 shots with care. Beyond that, cycle time and dimensional stability become unacceptable, and the piece price rises enough that a production tool pays for itself.
When should I order the production tool?
When the design is functionally frozen, the prototype has passed fit and function testing, and there is committed volume to amortise the tool over. Ordering earlier risks paying twice; later risks missing a market window.
Key terms explained
- Prototype tool
- A tool built to validate design and fit quickly, at the expense of cycle time and tool life.
- Production tool
- A hardened, cooled, multi-cavity tool designed for repeatability and long life.
- Design for manufacture
- The practice of designing a part so it can be produced efficiently and repeatably.
Sources and further reading
- Tooling stage comparison and stage-gate practice, 2025-2026
- Practical experience: part redesigns between prototype and production
Shiny Mold is an injection mould engineering and manufacturing partner based in Dongguan, China, with more than 23 years of experience building custom tools for automotive, medical, consumer electronics and industrial customers. We publish the same cost and process data we use internally.
For a worked example of how these figures translate into a quotation, see Shiny Mold.