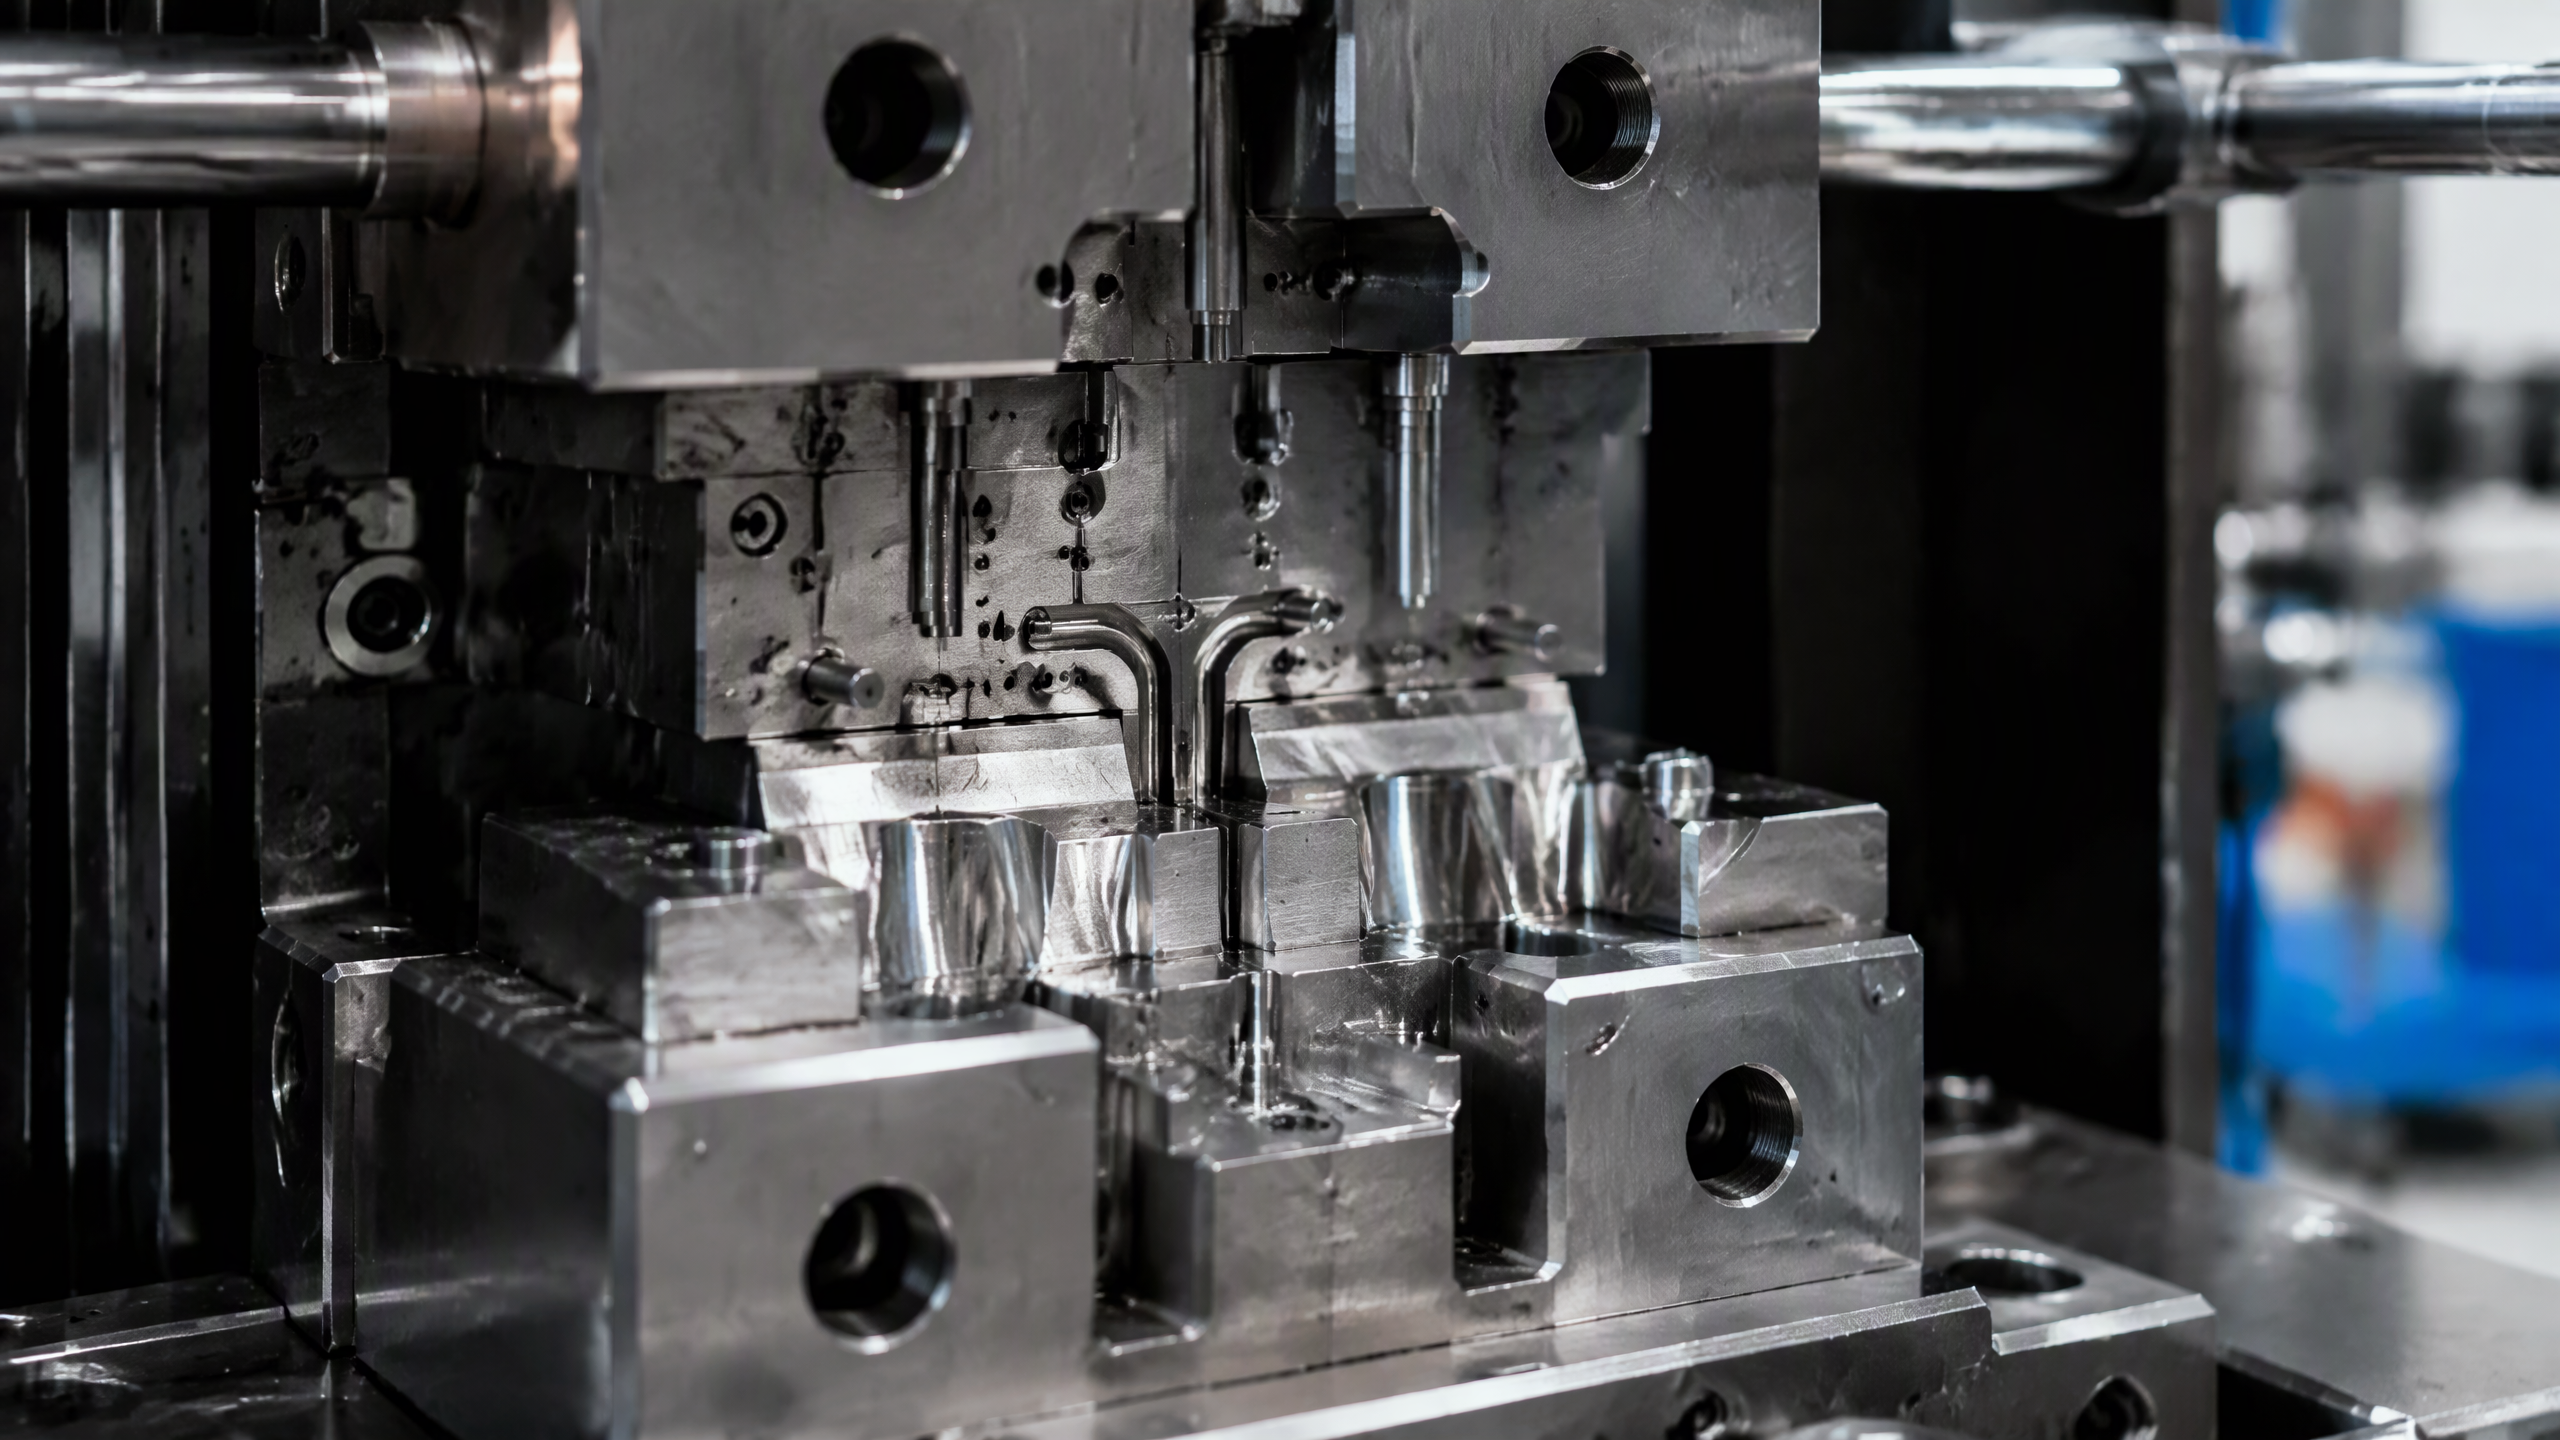
Introduction: The Foundation of Injection Molded Part Quality
Wall thickness is arguably the single most critical design parameter in injection molding. It directly determines structural strength, dimensional accuracy, cycle time, material consumption, and ultimately the cost-effectiveness of a production run. According to the Society of the Plastics Industry (SPI), approximately 70% of all field failures in injection molded parts can be traced back to suboptimal wall thickness design—whether from uneven distribution, excessive thickness causing sink marks, or insufficient thickness leading to short shots and structural weakness.
At Shiny Mold, our engineering team has spent over a decade optimizing wall thickness across more than 2,000 mold projects spanning automotive, consumer electronics, and medical device applications. This guide distills that hands-on experience into actionable design principles, material-specific recommendations, and defect-prevention strategies that go beyond textbook theory.

Whether you are designing a new part for injection molding or troubleshooting defects on an existing mold, understanding how wall thickness interacts with flow dynamics, cooling efficiency, and shrinkage behavior is essential for producing high-quality, repeatable parts.
Why Injection Molding Wall Thickness Matters
Structural Integrity and Part Performance
Wall thickness defines the load-bearing capacity of a molded component. A wall that is too thin may not withstand service loads, assembly stresses, or drop impacts. Conversely, a wall that is too thick wastes material, extends cooling time, and introduces internal voids or sink marks. The objective is to find the minimum thickness that meets mechanical requirements while maintaining moldability.
For most thermoplastics, tensile strength scales roughly linearly with wall thickness up to approximately 3 mm, beyond which the strength gain plateaus while cooling time increases quadratically. This relationship is governed by the cooling time formula:
t_cool = h² / (πα)
Where h is wall thickness, α is thermal diffusivity of the polymer, and π is the mathematical constant. This means doubling wall thickness quadruples cooling time—a fact that profoundly affects production economics.
Manufacturing Efficiency and Cycle Time
Cooling typically accounts for 50–70% of the total injection molding cycle. Because cooling time scales with the square of wall thickness, even a 0.5 mm reduction in nominal wall can cut cycle time by 15–25%, translating to significant cost savings at high volumes. For a production run of 100,000 parts, reducing cycle time from 30 to 22 seconds saves approximately 222 machine hours—a substantial impact on unit cost.
Flow length also depends on wall thickness. The maximum flow length-to-thickness (L/t) ratio determines whether a part can be filled without short shots. For standard grade ABS, the L/t ratio typically ranges from 100:1 to 150:1, while glass-filled nylon can reach 80:1. Designers must ensure that the longest flow path does not exceed the material's L/t limit at the selected wall thickness.
Recommended Wall Thickness by Material
Different polymers have distinct melt viscosity, shrinkage rates, and thermal properties that dictate their ideal wall thickness ranges. The table below summarizes typical values drawn from SPI design guidelines and data sheets from major resin suppliers including BASF, SABIC, and DuPont.

Commodity Thermoplastics
- ABS: 1.2–3.0 mm. ABS offers excellent flow characteristics and is one of the most forgiving materials for wall thickness transitions. Minimum practical wall is 0.8 mm for small parts.
- PP (Polypropylene): 0.8–3.0 mm. PP flows readily; thin walls of 0.6 mm are achievable for small geometries, though uniform thickness is critical to prevent warpage.
- PE (Polyethylene): 0.8–3.0 mm. Similar to PP, PE performs well at thin walls but exhibits higher shrinkage (1.5–3.0%), making uniform thickness essential.
- PS (Polystyrene): 1.0–3.0 mm. Rigid and easy to mold, but brittle at thin walls; avoid sharp corners that initiate stress cracks.
Engineering-Grade Resins
- PC (Polycarbonate): 1.0–3.0 mm. PC has high melt viscosity and requires thicker walls or higher injection pressures. Minimum recommended wall is 1.0 mm to avoid flow lines.
- Nylon (PA6/PA66): 0.8–3.0 mm. Nylon flows well but absorbs moisture, which affects dimensional stability. Wall thickness should account for post-mold swelling.
- POM (Acetal): 1.0–3.0 mm. POM has good flow but high shrinkage; design transitions carefully to avoid voids.
- PC/ABS Blend: 1.0–3.0 mm. The blend balances flow and impact resistance; ideal wall range is 1.2–2.5 mm for structural parts.
- Glass-Filled Nylon (PA66-GF30): 1.5–3.0 mm. Glass fiber restricts flow; minimum wall increases to 1.5 mm. Shrinkage is lower (0.3–0.5%) but anisotropic—plan for differential shrinkage between flow and transverse directions.
For specialized applications such as medical injection molding, walls as thin as 0.4 mm may be required for microfluidic devices, demanding high-speed injection and precise mold making with tight cooling channel placement.
Key Design Principles for Wall Thickness
Uniform Wall Thickness: The Golden Rule
The most fundamental principle in injection molded part design is maintaining uniform wall thickness throughout the part. Non-uniform walls create differential cooling rates: thick sections cool slower and continue to shrink after thin sections have solidified, generating internal stresses that cause warpage, sink marks, and dimensional instability.
When wall transitions are unavoidable, use a gradual taper of no more than a 3:1 ratio—meaning the thickness should change by no more than a factor of three over the transition distance. A fillet radius at the transition point equal to at least 0.5× the nominal wall thickness helps distribute stress and smooth melt flow.
Ribs, Bosses, and Feature Design
Ribs stiffen thin-walled parts without increasing nominal wall thickness. However, rib thickness must be controlled relative to the adjoining wall to prevent sink marks on the opposite surface. The widely accepted guideline:
- Rib thickness: 50–60% of nominal wall for amorphous materials (ABS, PC)
- Rib thickness: 40–50% of nominal wall for semi-crystalline materials (PP, nylon, POM)
- Rib height: Maximum 3× nominal wall thickness
- Rib spacing: Minimum 2× nominal wall thickness between ribs to allow melt flow
- Draft angle on ribs: 0.5–1.0 degrees per side (see our injection molding draft angles guide for detailed calculations)
Bosses (mounting bosses) should follow similar proportioning. A boss wall thickness of 60–70% of the nominal wall prevents sinking, and the boss should connect to the main wall via a rib rather than standing alone. Core pin diameter should leave a minimum boss wall of 0.5 mm for standard screws.
Corners and Radii
Sharp internal corners concentrate stress and act as crack initiation sites. Always fillet internal corners with a radius of at least 0.5× wall thickness. External corners should also be radiused for uniform melt flow and consistent cooling. A common rule: external radius = internal radius + wall thickness, ensuring uniform wall at corners.
Common Wall Thickness Defects and Solutions

Sink Marks
Sink marks appear as depressions on the surface opposite thick sections, ribs, or bosses. They occur because the thicker material continues to shrink after the surface has solidified. Prevention strategies:
- Reduce rib thickness to 50% of nominal wall
- Use texture or matte finish on affected surfaces to mask minor sinking
- Reduce packing pressure or extend hold time
- Redesign to eliminate thick sections—use coring to hollow out bulk material
Warpage and Shrinkage
Warpage results from differential shrinkage across the part—often caused by non-uniform wall thickness, fiber orientation in glass-filled materials, or asymmetric cooling. Design-level mitigation includes maintaining uniform walls, using symmetric rib patterns, and designing balanced cooling channel layouts. For a deeper understanding of shrinkage behavior by material, refer to our injection molding shrinkage guide.
Short Shots
Short shots—where the mold does not completely fill—occur when flow length exceeds the L/t ratio or when walls are too thin for the material's viscosity. Solutions include increasing wall thickness, adding flow leaders (locally thickened channels that guide melt flow), relocating gates closer to the far end of the cavity, or switching to a lower-viscosity material grade. Gate design is covered in detail in our injection molding gate types guide.
Voids and Bubbles
Internal voids form in thick sections where the core freezes last and pulls away during volumetric shrinkage. These are invisible from the surface but detectable via X-ray inspection. They compromise structural integrity and are best prevented by coring out thick sections to achieve uniform walls.
Mold Design Considerations for Wall Thickness
Gate Placement and Flow Length
Gate location directly determines the maximum flow path length. For parts with long flow paths, edge gates at the center of the part reduce flow distance by half compared to end gates. Multi-cavity molds must balance flow paths to ensure simultaneous fill—a principle covered in our multi-cavity mold design resource. Mold flow analysis (using tools like Moldex3D or Autodesk Moldflow) should be conducted for any part where the flow path exceeds 80:1 L/t ratio.
Cooling Channel Design
Uniform wall thickness enables uniform cooling, but only if the cooling system is designed to match. Conformal cooling channels—manufactured via direct metal laser sintering (DMLS)—follow the part contour and maintain consistent distance from the mold surface, reducing cycle time by 20–40% compared to straight drilled channels. Baffles and bubblers are effective for deep cores where straight channels cannot reach.
Industry Trends: Thinner Walls and Higher Performance
The trend in consumer electronics and automotive lightweighting is toward thinner walls. Smartphone housings now routinely use 0.4–0.6 mm walls in liquid-crystal polymer (LCP) and glass-filled PC. Automotive interior panels have moved from 3.0 mm to 1.8 mm average thickness using long-glass-fiber reinforced PP, achieving 30% weight reduction while maintaining stiffness through optimized rib architecture.
Thin-wall molding demands specialized equipment: high-speed injection machines with injection velocities above 500 mm/s, accumulator-assisted clamping, and precise melt temperature control. Mold temperature control becomes critical—varioline molding (dynamic mold temperature control) alternates between high mold temperature during fill (for surface finish) and low temperature during cooling (for rapid solidification).
Frequently Asked Questions (FAQ)
What is the standard wall thickness for injection molded parts?
The standard wall thickness for most injection molded plastic parts ranges from 1.2 mm to 3.0 mm. ABS parts typically use 1.5–2.5 mm, while thin-wall consumer electronics can go as low as 0.4 mm with specialized materials and high-speed molding equipment.
What happens if injection molding wall thickness is too thick?
Excessively thick walls increase cooling time quadratically, cause sink marks and internal voids, waste material, and can lead to longer cycle times and higher production costs. Thick sections also generate internal stress from differential shrinkage, resulting in warpage.
How thin can injection molded walls be?
With high-speed injection machines and low-viscosity resins such as LCP or PPS, walls as thin as 0.3 mm are achievable for small parts. For standard thermoplastics like ABS and PP, the practical minimum is 0.6–0.8 mm, depending on part size and flow path length.
Should ribs be thinner than the main wall?
Yes. Rib thickness should be 50–60% of the nominal wall for amorphous materials and 40–50% for semi-crystalline materials. This ratio prevents sink marks on the opposite surface while still providing adequate stiffness.
How do you transition between different wall thicknesses?
Use a gradual taper with a maximum 3:1 thickness change ratio. Add a fillet radius of at least 0.5× the nominal wall at the transition point to distribute stress and smooth melt flow. Avoid abrupt steps that create stress concentrators and flow disturbance.
Conclusion
Wall thickness is the linchpin of injection molded part design. Getting it right at the design stage prevents a cascade of downstream problems—from sink marks and warpage to excessive cycle times and failed parts. The principles are straightforward: maintain uniform thickness, use proportional ribs and bosses, fillet all transitions, and select material-appropriate wall ranges.
At Shiny Mold, our engineering team applies these principles across every project, combining mold design expertise with advanced mold flow analysis to validate wall thickness decisions before steel is cut. For more technical resources, visit our industry articles or FAQ section.
Author: Shiny Mold Engineering Team
Source: Shiny Mold — Precision Injection Molding & Mold Making Solutions