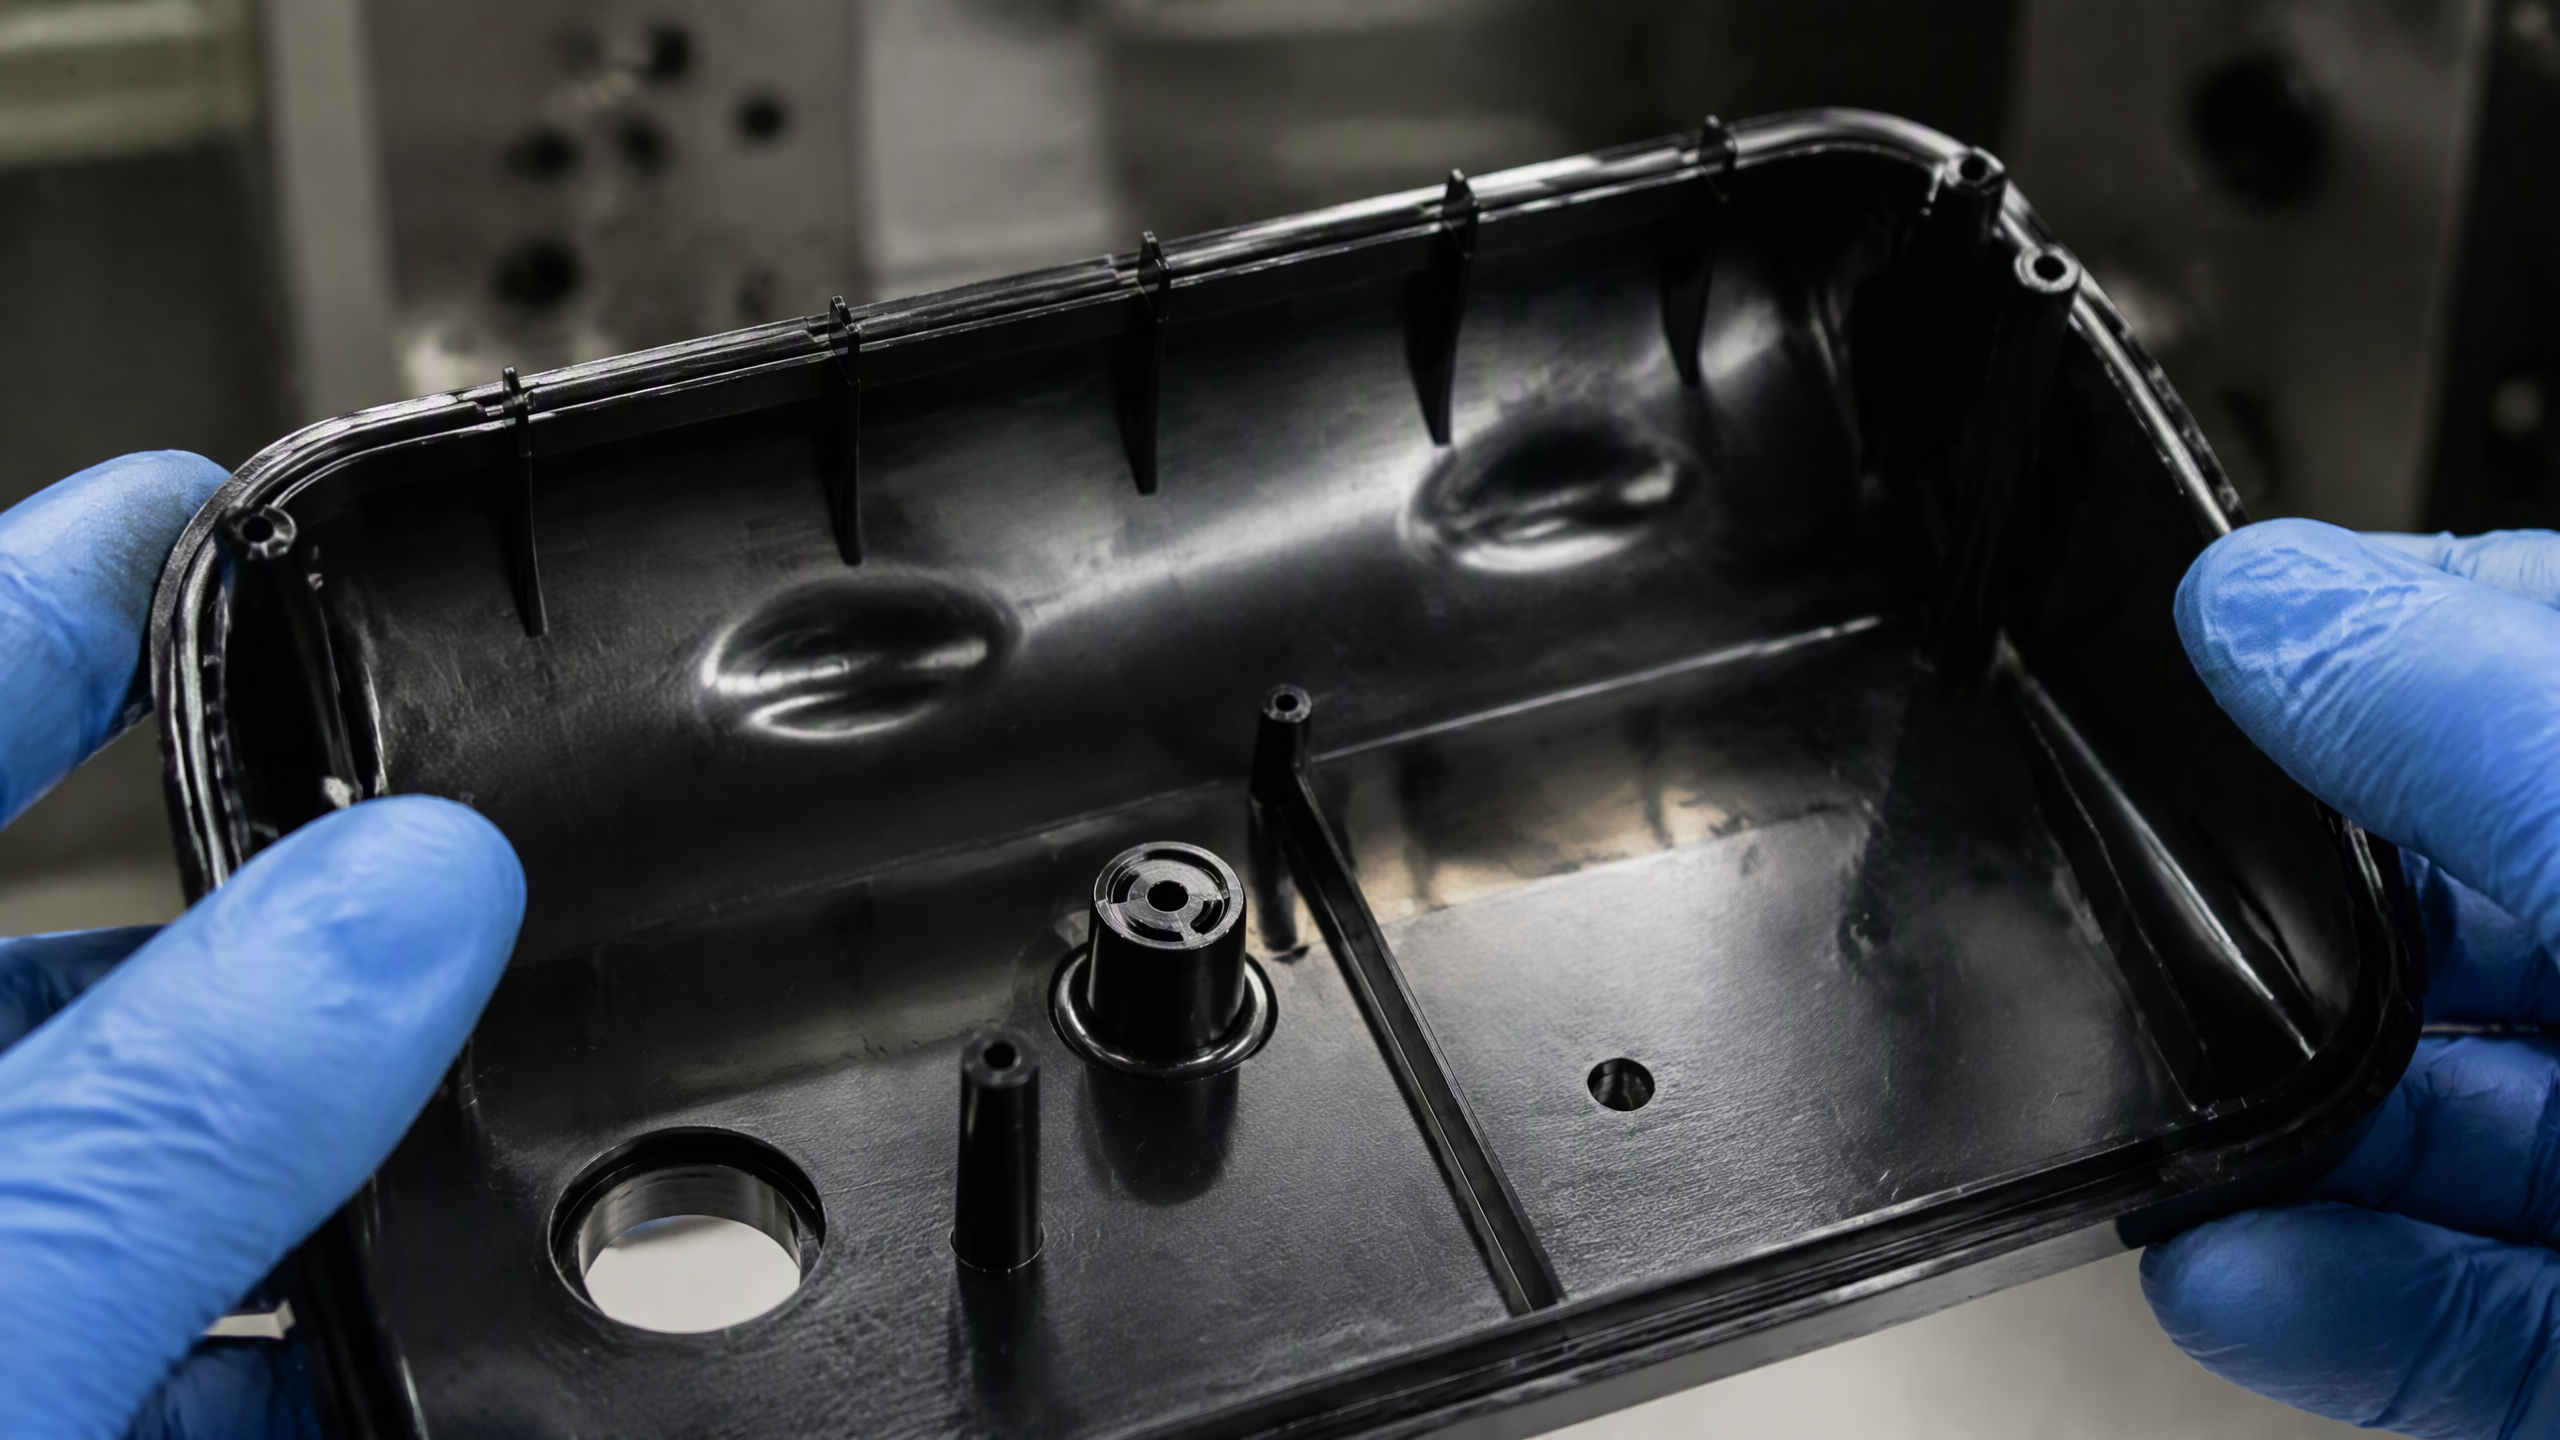
A short shot in injection molding is an incomplete fill: the cavity never receives enough material to reproduce the part completely, so the molding comes out with a missing section, an unfilled rib or boss, or a rounded, blunt end where the flow front stopped. It is a functional defect rather than a cosmetic one — wherever the polymer never arrived, there is no wall and no strength. It is also the easiest defect to diagnose, because the evidence is physical: the part is smaller than the cavity. Every case reduces to one of three conditions — not enough material delivered, not enough pressure or flow rate to push it to the end of fill, or a flow front that froze before it arrived. Preventing them permanently usually means correcting tooling or part design, not dialing in bigger numbers.
Injection Molding Short Shot: Key Takeaways
- A short shot is incomplete cavity fill — missing sections, unfilled thin features, or a rounded short end at the last point to fill.
- Three root conditions explain almost every occurrence: insufficient shot volume, insufficient injection pressure or flow rate, and a flow front that froze before reaching the end of fill.
- Rule out the machine first: a shot size of roughly 25–75% of barrel capacity with a stable cushion removes the most common hardware causes.
- Venting and the flow-length-to-wall-thickness ratio explain most short shots that survive a process adjustment — both are decided in the mold, not on the press.
- Accept parts on part weight and a defined limit sample, not by eye; a short shot is a functional reject at any severity.
What Is a Short Shot in Injection Molding?
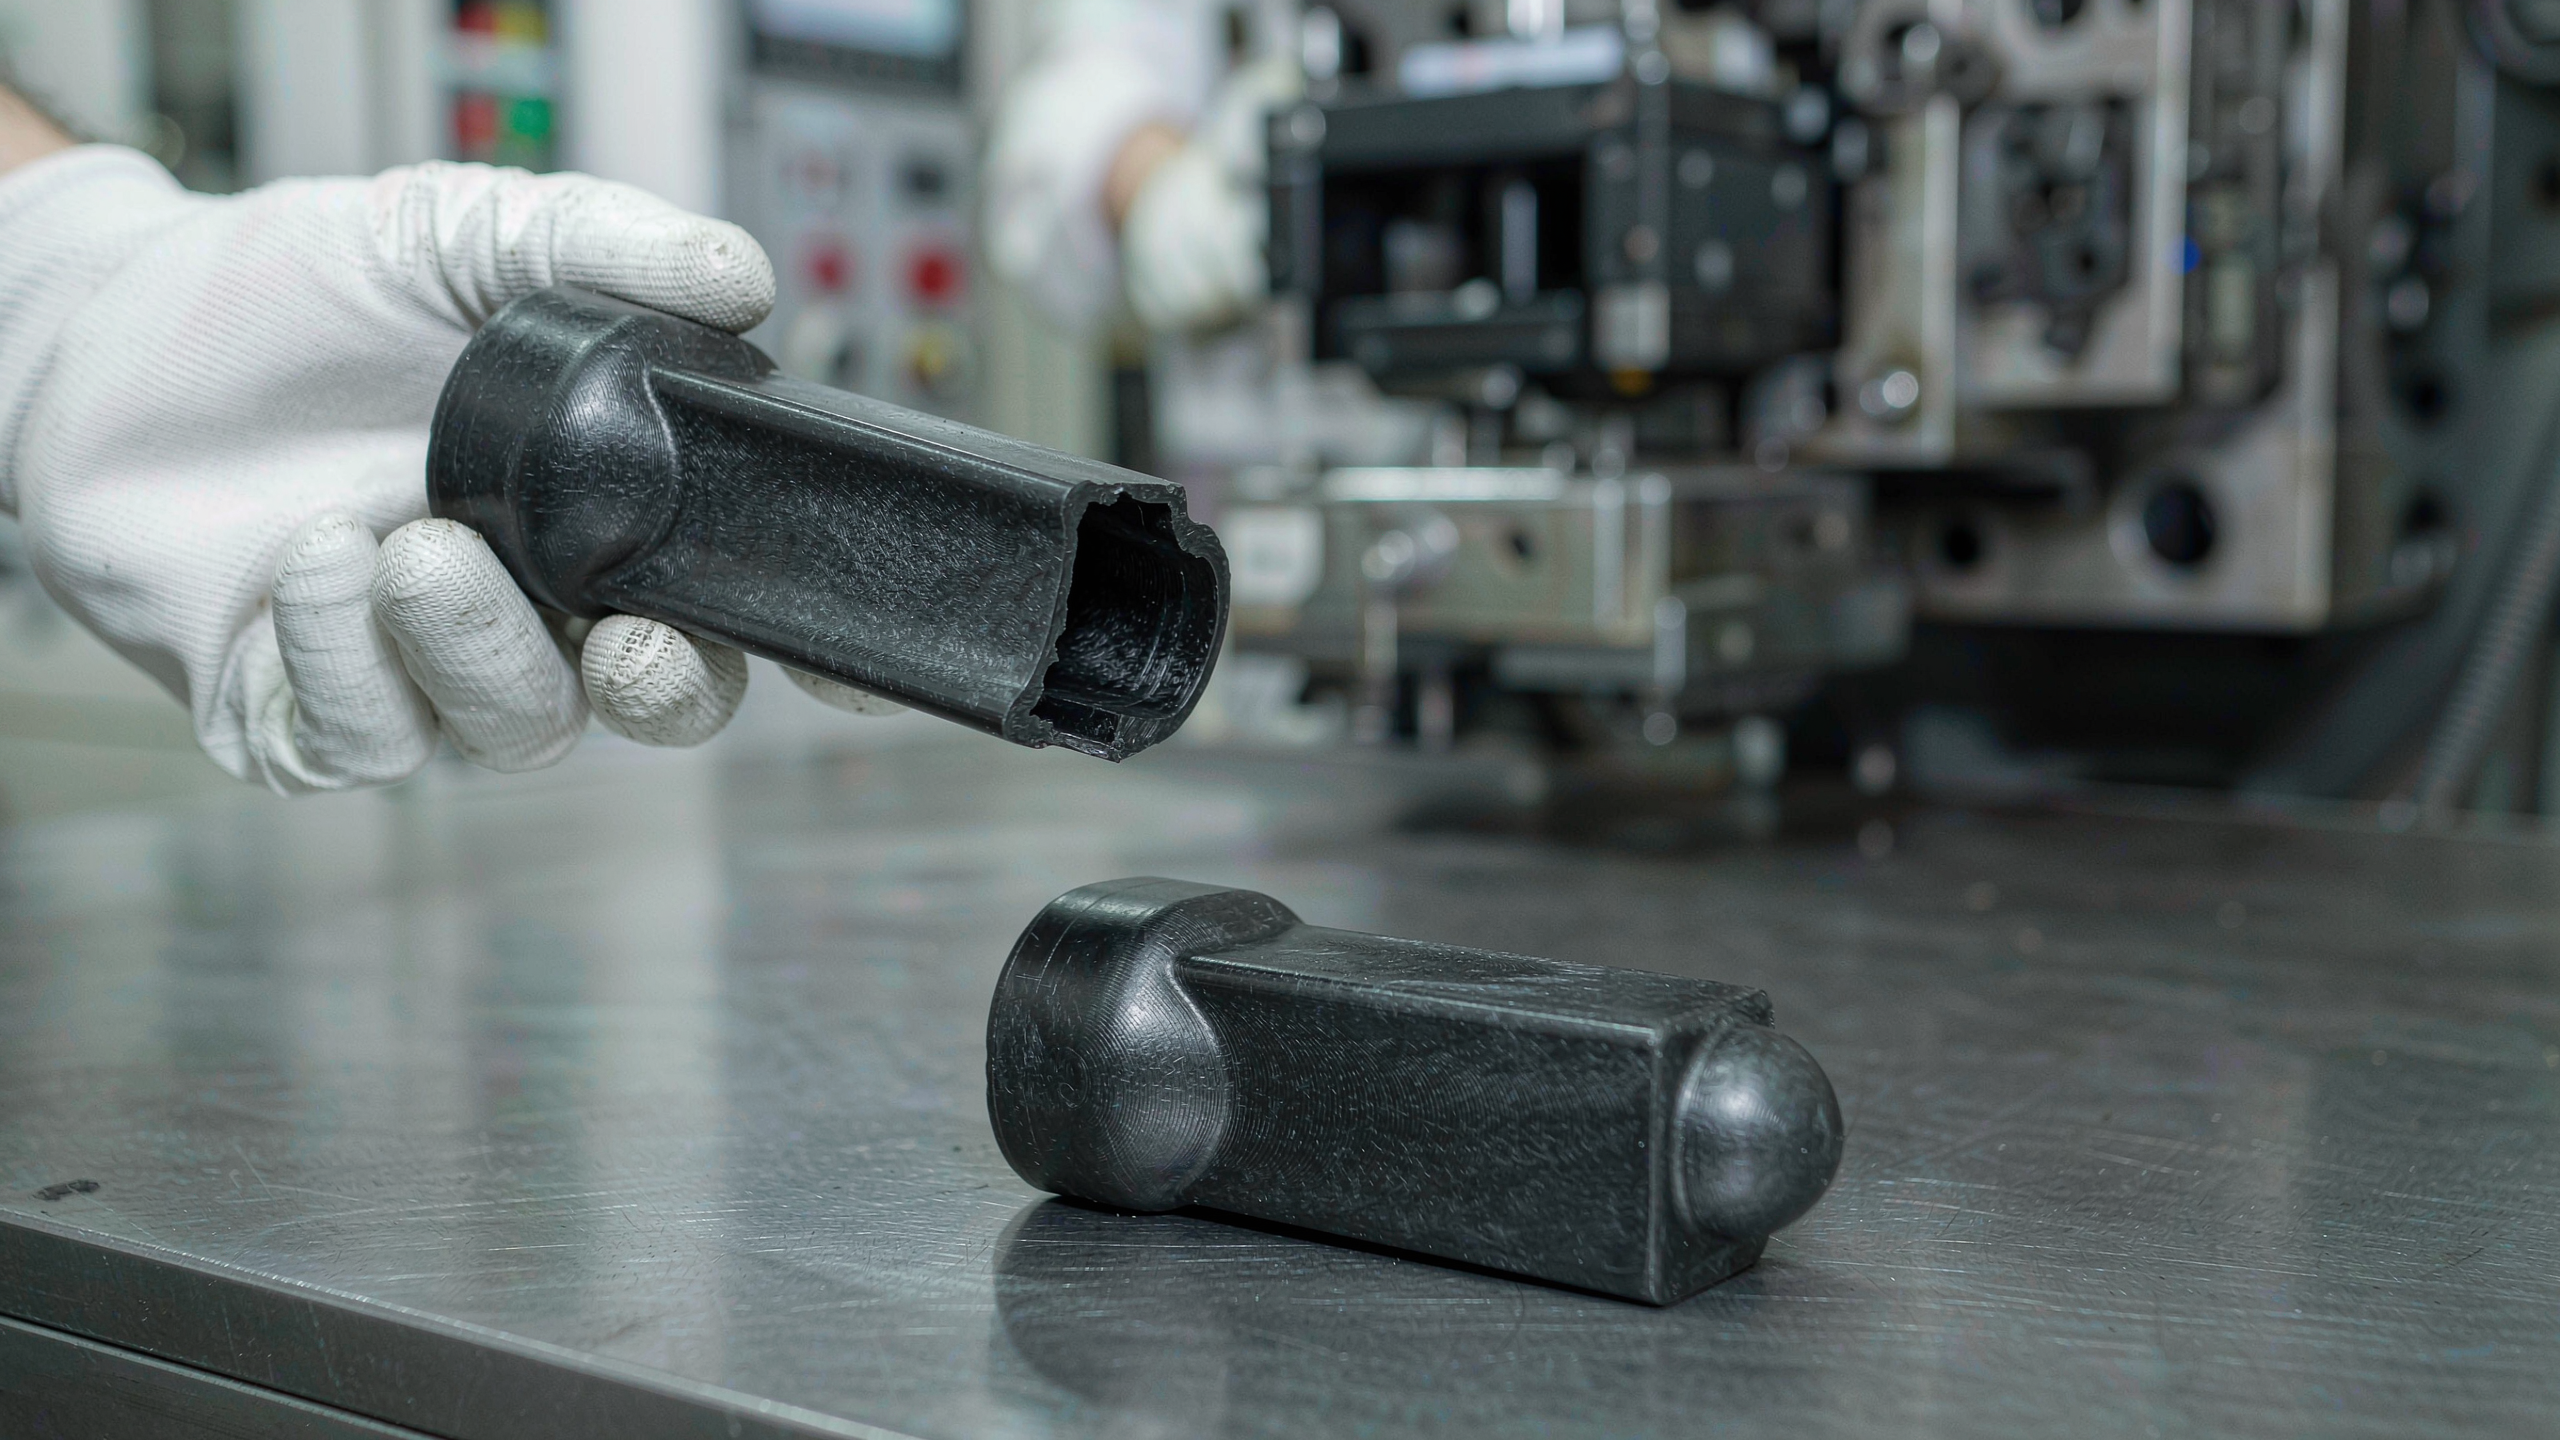
A short shot is what happens when the flow front — the leading edge of molten polymer — stops advancing before the cavity is full. The missing material is almost never at the gate: because polymer enters at the gate and flows outward, the gap sits at the last point to fill, the location farthest from the gate in flow terms rather than straight-line distance. Short shots take three recognizable forms:
- Missing end section. A long, flat part such as a housing or cover plate that ends in a rounded, unfilled stub instead of a completed edge.
- Unfilled thin or distant features. The main wall fills, but a thin rib, small boss or latch detail starves because the flow front reaches it cold and slow.
- Partial cavities in multi-cavity tools. Some cavities fill completely while others fill halfway, pointing to a feed-system imbalance rather than a process limit.
Short shots belong to the fill-phase defect family, alongside flash, the opposite failure. Our injection molding defects guide groups the common defects by the phase of the cycle that produces them.
What Causes Short Shots in Injection Molding?
Causes fall into four practical groups: machine delivery, process settings, material condition, and tooling and part design. Working through them in that order is the fastest route to a correct diagnosis, because a hardware limitation cannot be tuned away.
1. Not enough material delivered
If the shot size is set below what the part, runners and cushion require, the cavity can never fill no matter how much pressure is available. The same symptom appears when the machine runs near its injection-unit capacity, when the cushion collapses to nearly zero at the end of stroke, or when barrel recovery is inconsistent shot to shot. Below roughly 20–25% of capacity, residence time is long and fill becomes erratic.
2. Not enough pressure or flow rate
Injection pressure is a limit, not a guarantee. If the ceiling is reached before the cavity is full, the machine cannot push the melt further, and raising hold pressure changes nothing because the fill phase is already over. Poor injection speed causes the same shortfall: a slow flow front loses heat, gains viscosity, and freezes before the end of fill.
3. The flow front froze before reaching the end
This is the most common design cause. A cold mold, a low melt temperature, thin walls or an excessive flow length all accelerate cooling of the flow front, which skins over and stops, leaving the last section of the cavity empty. Resin suppliers publish flow-length-to-wall-thickness charts that define how far a given grade can travel before freezing.
4. Trapped gas blocking the flow front
Air in the cavity has to leave somewhere. If the last-fill area is not vented, gas compresses ahead of the flow front, raises local pressure and can stall the front or burn where the trapped gas ignites under compression. Incomplete venting is often mistaken for a pressure problem because raising pressure seems to help intermittently.
5. Restrictions and imbalances in the feed system
Small gates, a cold slug in the sprue, long or undersized runners and unbalanced hot-runner layouts all throttle flow. In multi-cavity molds an unbalanced feed system can starve one cavity while overfilling another, producing a short shot and flash simultaneously. Verify this with a fill study, not by guessing from the process screen.
6. Material condition and grade
Wet resin, the wrong flow grade, regrind with high fines content or contamination all raise effective viscosity or reduce flow consistency. Hygroscopic resins — polyamide, polycarbonate, PBT and ABS — must be dried to the supplier's specification; moisture worsens flow and degrades mechanical properties.
| What you observe | Most likely cause | First check |
|---|---|---|
| Short, consistently at the same location | Flow front freezing, or a local restriction | Cushion stability, melt and mold temperature, gate size |
| Short randomly between cycles | Unstable shot delivery or material feed | Cushion repeatability, check-ring wear, hopper feed |
| Only one cavity of several is short | Unbalanced runner or manifold | Fill-balance study across cavities |
| Short shot plus a burn mark nearby | Trapped gas / inadequate venting | Vent locations at the last point to fill |
| Thin rib short while walls fill fine | Rib thinner than the flow can sustain | Rib thickness versus nominal wall |
How to Fix a Short Shot on the Press

Process adjustments work when the tooling and machine are capable. Apply them in this order, and stop as soon as the part fills completely: the goal is the lowest fill pressure that produces a sound part.
Step 1: Prove the machine can deliver
Confirm that shot size sits comfortably inside the machine's working range, that the cushion is stable and non-zero, and that the check ring is not worn. A decaying cushion across a run is a hardware finding, and no process change masks it reliably.
Step 2: Raise the pressure ceiling and reshape the fill profile
Increase the injection pressure limit first, then optimize the injection speed profile. Faster fill keeps the flow front hot; where geometry allows, fill quickly through the thick sections and ease off before the end of fill to limit both short shots and flash. Avoid speeds high enough to cause jetting.
Step 3: Warm the material and the mold
Raise melt temperature within the supplier's window, and raise mold temperature enough to sustain flow into the thinnest, most distant features. Mold temperature is often the most effective lever on a thin-wall or long-flow part, and the slowest to respond — wait for the tool to reach equilibrium before judging the change.
Step 4: Give the gas somewhere to go
Vent the last point to fill. Correct vent depth depends on the resin: too shallow and gas cannot escape, too deep and flash appears. Clean vents on a schedule, because plate-out gradually seals a correctly sized vent and produces a short shot that looks like a new process problem.
Step 5: Correct the feed system
If the part is still short with the process optimized, the restriction is geometric: enlarge or relocate the gate, shorten the runner, eliminate the cold slug, or balance the manifold. These are tooling changes, and should be recorded as such rather than compensated by running the machine harder.
| Press-side step | Adjustment | What to watch |
|---|---|---|
| 1. Delivery | Increase shot size; verify cushion | Cushion repeatability, cycle-to-cycle variation |
| 2. Fill energy | Raise pressure limit; profile injection speed | End-of-fill pressure, jetting, flash |
| 3. Thermal | Raise melt and mold temperature | Part gloss, cycle time, mold equilibrium |
| 4. Venting | Clean, or add vents at last fill | Burn marks, gas traps, new flash |
| 5. Feed system | Gate size/location; runner balance | Fill balance across cavities |
Design Rules That Prevent Short Shots
Short shots that persist after a thorough press-side effort are design problems. These rules remove most of them at the source.
- Keep the wall as uniform as possible. Sudden thickness transitions create slow, cold flow paths into thin regions far from the gate.
- Respect the flow-length-to-wall-thickness ratio. Both unfilled and glass-filled grades have limits; a part whose longest flow path exceeds the resin's capability will short shot regardless of machine settings.
- Gate where the material can do the most work. Gate at or near the thickest section and feed the longest flow path first, so the melt arrives at the thinnest features while it is still hot.
- Balance multi-cavity and family tooling. Use naturally balanced runners or a melt-rotated manifold, and verify balance with a fill study rather than assuming it.
- Design vents into the tool from the start. Vent at the last point to fill, at weld-line locations and at the end of long ribs.
- Use flow leaders, not flow restrictors. Thickening a path toward a distant feature — a flow leader or flow tab — is more effective than expecting a uniform wall to carry the front to the far edge.
Gate type, runner layout and wall thickness are covered in more depth in our guides to gate design and cooling system design — flow capability and cooling are two halves of the same fill problem.
Short Shot vs Other Fill-Related Defects
Short shots are often confused with defects that look similar but have different root causes. The distinguishing question is whether material is missing or merely misdirected.
| Defect | What you see | Root mechanism |
|---|---|---|
| Short shot | Missing section, rounded short end, unfilled thin feature | Cavity never filled — volume, pressure or heat limit |
| Flash | Thin fin of material beyond the parting line | Excess pressure or clamp, or a worn parting line |
| Burn marks | Dark, charred patch, usually at a corner or blind end | Trapped gas compressed and ignited |
| Weld lines | Visible seam where two flow fronts met | Flow fronts meeting cold, often behind a core |
| Sink marks | Dish-shaped depression above a thick internal feature | Differential cooling and volumetric shrinkage |
Cosmetic defects such as surface finish variation and warpage may coexist with a short shot but need correcting separately: fixing the fill does not automatically fix shrinkage-driven distortion.
How to Detect and Accept Short Shots in Production
A short shot is never a tolerance issue — it is a non-conforming part, because the material that should be there is absent. The practical challenge is detecting it at production rate, especially when the shortfall is inside a rib rather than on a visible surface.
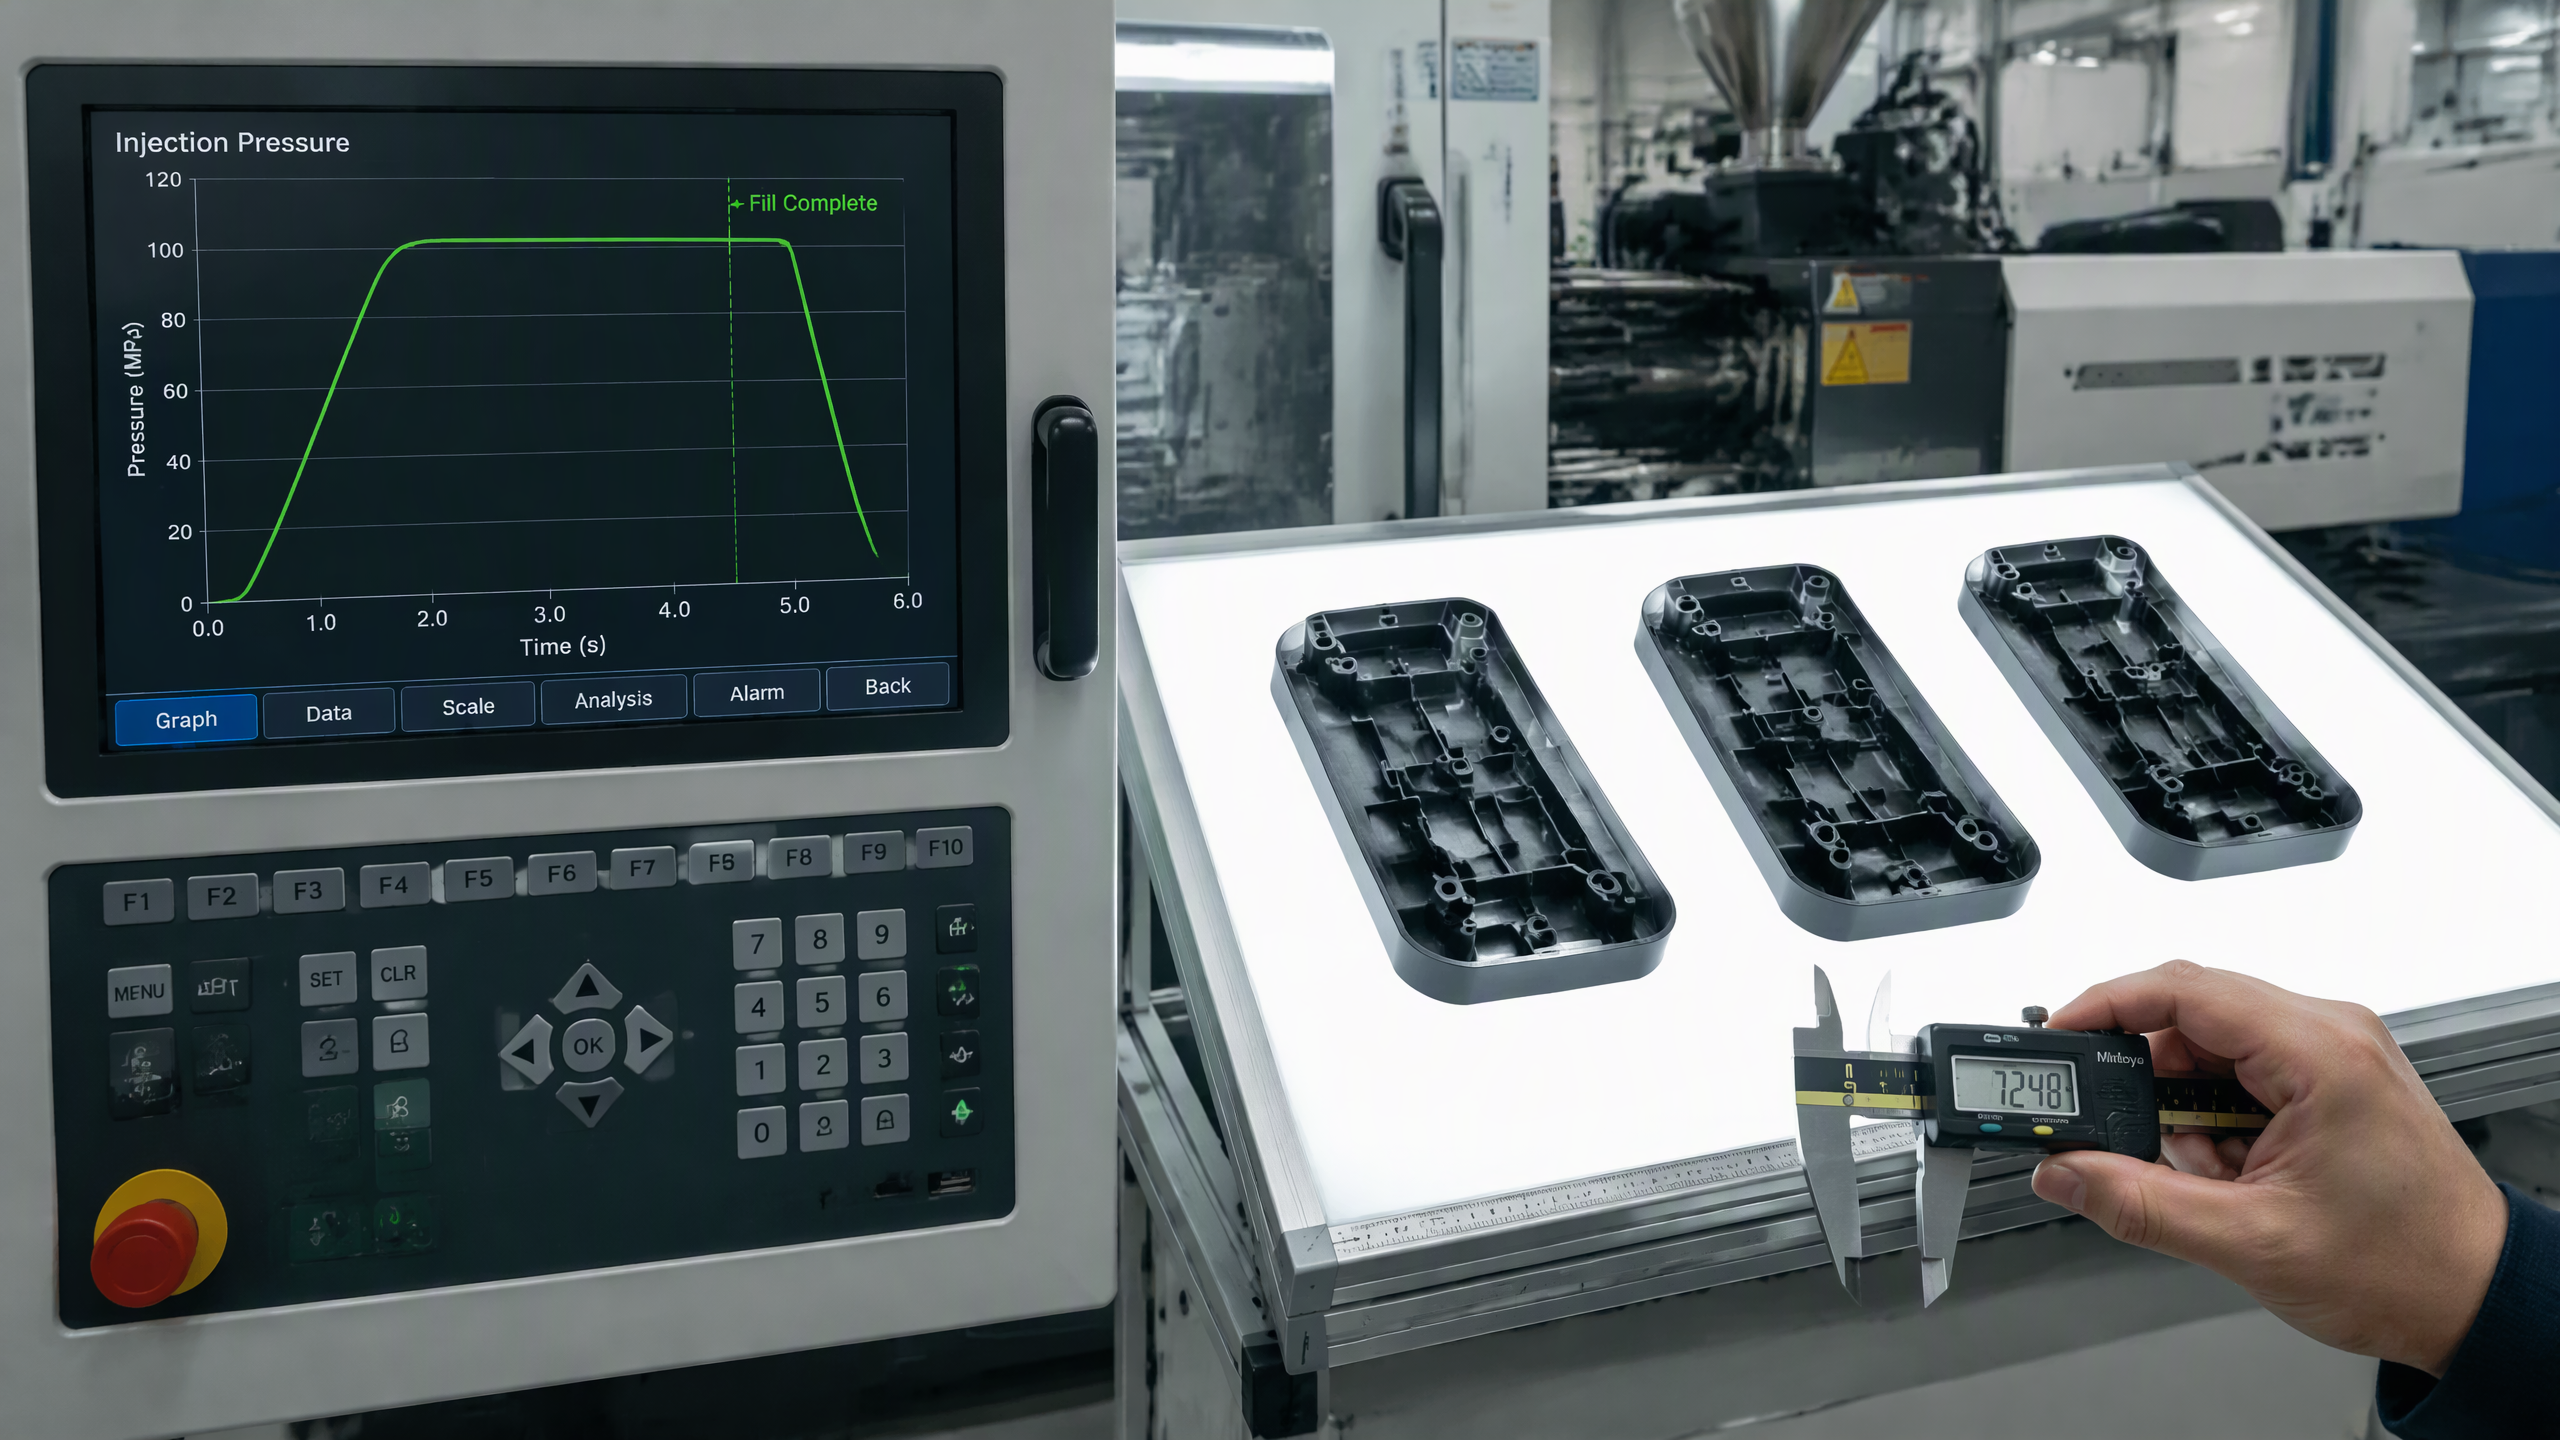
- Part weight. The cheapest and most sensitive monitor: establish a 100%-fill baseline weight, then set reject limits below it. A short shot shows up as an abnormally light part long before it is visible.
- Visual inspection on a light table. Silhouette viewing against a defined limit sample exposes unfilled edges and thin features quickly.
- Cavity pressure monitoring. Pressure sensors or short-shot detectors identify an incomplete fill in-cycle and can sort parts automatically.
- Shot-size and cushion tracking. Trending cushion position catches delivery-side drift before parts go short.
- Formal acceptance criteria. Dimensional and acceptance conventions for molded parts are formalized in standards such as ISO 20457 and, for specimen molding used in material qualification, ISO 294 and ASTM D3641. Write down what counts as a reject and inspect against it.
One caution: accept and reject on stable parts. A part measured straight off the press is still changing shape and weight as it cools, so measuring early can turn a normal part into a false reject.
Frequently Asked Questions
What is a short shot in injection molding?
A short shot is a molding defect in which the cavity is not completely filled, leaving the part with a missing section, an unfilled thin feature, or a rounded end at the last point to fill. It is a functional defect, because the missing region has no material at all.
What causes a short shot?
Almost every case traces to one of three conditions: too little material delivered, insufficient injection pressure or flow rate, or a flow front that froze before reaching the end of the cavity. Trapped gas and feed-system restrictions are the most common aggravating factors.
Can a short shot be fixed without modifying the mold?
Often yes, if the machine and tooling are capable. Increasing shot size, raising the pressure limit, optimizing the injection speed profile, and raising melt and mold temperature resolve many short shots. If the part stays short at the machine's limit, the cause is geometric and the tool must change.
Is a short shot always caused by low injection pressure?
No. Low pressure is only one of several causes. A part can short shot without the pressure limit ever being reached, for example when the shot size is undersized or shot delivery is unstable. Diagnosing pressure first, without checking cushion and shot size, is a common and expensive mistake.
Does a short shot affect part strength?
Yes. Missing material cannot carry load, so a short shot reduces stiffness and strength locally and often creates a stress concentration at the abrupt edge of the unfilled region. Even a short shot that only affects a rib or boss is a functional reject.
Is a short shot the same as incomplete fill?
For practical purposes, yes. "Short shot", "incomplete fill" and "non-fill" describe the same condition: the cavity did not fill completely. Some shops use "incomplete fill" loosely for the partial fill used intentionally in a short-shot study to map the flow pattern.
Where to Go From Here
Short shots are the clearest signal a molding process gives you: material is somewhere other than where the part needs it. Diagnose in the right order — delivery, then fill energy, then temperature, then venting, then the feed system — and treat any remaining short shot as a design finding to be corrected in the tool.
Shiny Mold supports customers at both ends of that process: mold making and precision mold making for new programs, rapid tooling for early validation, and injection molding production with scientific molding methods, including fill-balance and gate-seal studies, before a tool is handed over. If you have a part that will not fill, or a tool that short shots only under production conditions, contact our engineering team with the part drawing and the process settings and we will help isolate the cause. More process guidance is in our FAQ and the industry articles library.
Shiny Mold Engineering Team — precision mold making and injection molding for automotive, medical, and consumer electronics programmes.